Where to Find Photos to Upload Mc
With all the deject services available out there, you don't have to store your photos locally on your Mac. That memory infinite tin can be used for other items. Services similar Google Photos lets you lot upload and store an unlimited number of photos and videos on the cloud provided you come across their quality requirements.
Google Photos offers multiple means to sync photos from your Mac to the service. Yous can either let it upload all your Mac photos or you can choose the ones that you want to upload. Also, you lot have a web version available to use in instance you aren't willing to install one more than app on your Mac.
Upload All Mac Photos To Google Photos With The "Backup and Sync" App
Google offers an app called Backup and Sync that allows you to upload files from your computers to your Google account. You can utilise it to upload all the photos that are in the iPhoto and Photos app on your Mac. It lets you select custom folders as well to upload photos from.
To take advantage of the unlimited gratis storage on Google Photos, you need to permit Google to:
- Compress your photos then they're 16MP.
- Resize your videos to have a maximum of 1080p resolution.
You don't need to manually resize or compress your content equally Google will practise information technology for you.
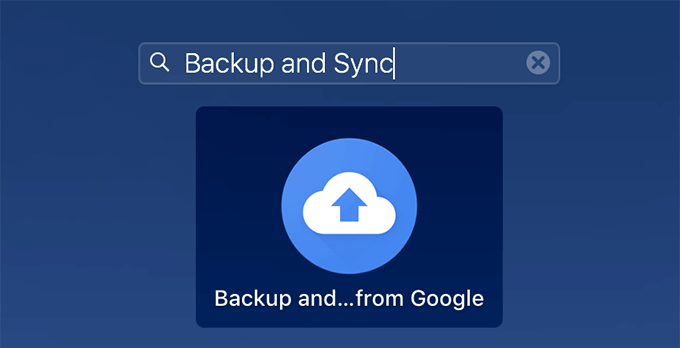
- Download and launch the Backup and Sync app on your Mac.
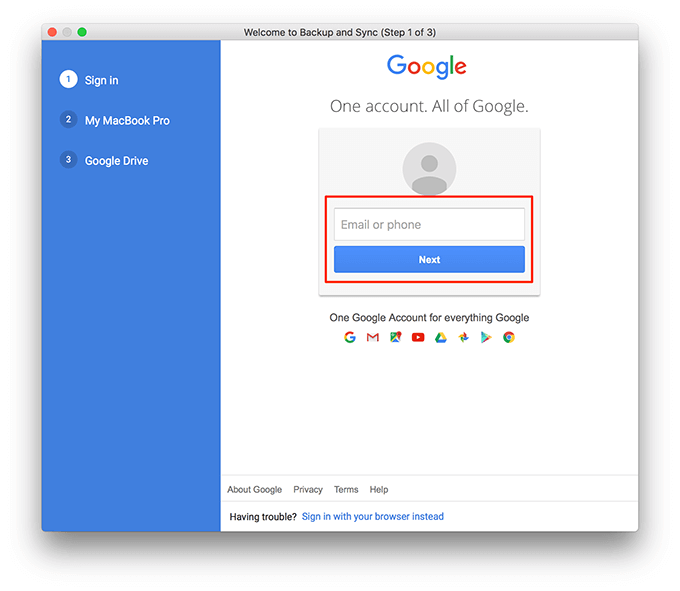
- Enter your Google username and click on Next.
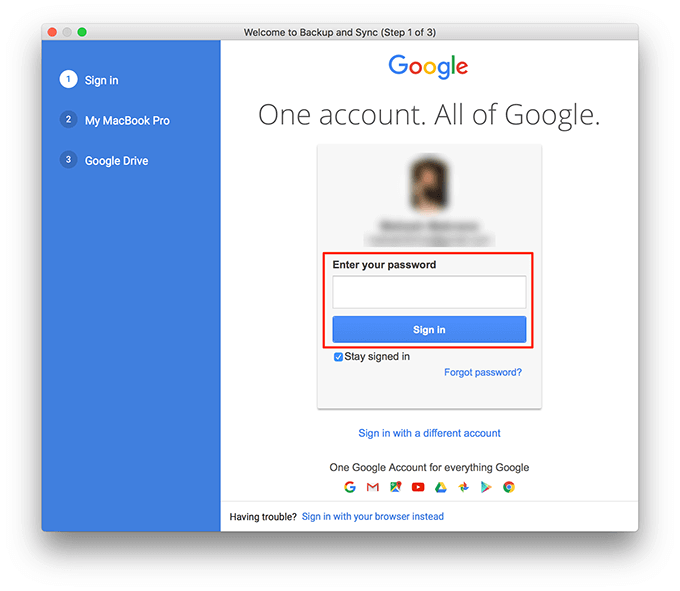
- Enter your Google account countersign and hit Sign in.
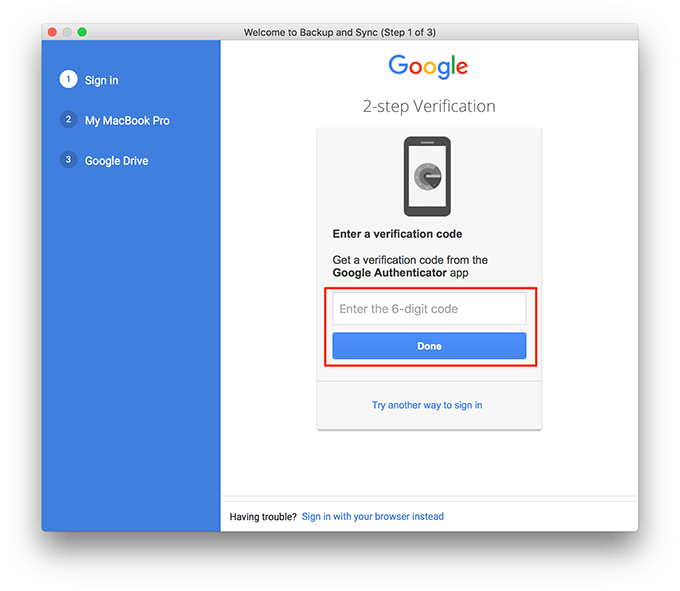
- If yous have ii-gene authentication enabled, enter the code on your screen and click on Washed.
- The app will now let y'all select what you lot want to upload to Google Photos. Tick-mark the option for the Pictures folder and then tick-mark both Photos Library every bit well every bit iPhoto Library.
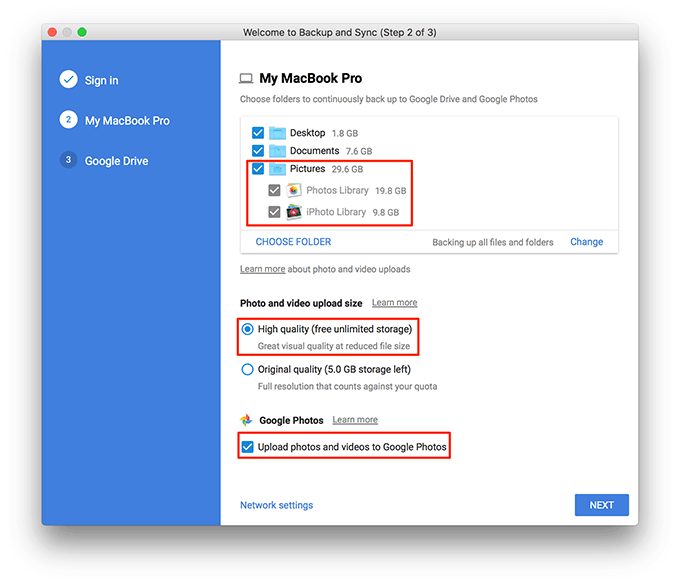
- Select the Loftier quality (free unlimited storage) option.
- Tick-marking the box that says Upload photos and videos to Google Photos.
- Finally, click on Next at the lesser.
Upload Mac Photos Using The Google Photos Web Version
If you only have a few photos to upload to Google Photos and you don't want to install an app to do it, y'all tin can utilize the Google Photos web version to practise this. It'll let yous create albums and upload your photos in them — all from your web browser.
- Open a new tab in your browser and head over to the Google Photos site. Log-in with your Google account if you aren't already logged in.
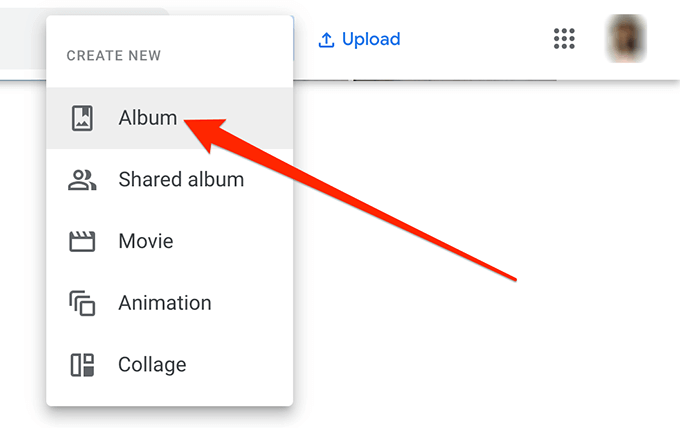
- Click on the choice that says Create at the elevation and select Anthology. This is where your uploaded photos are going to be stored.
- Enter a name for your new album and click on Add photos to add photos to it.
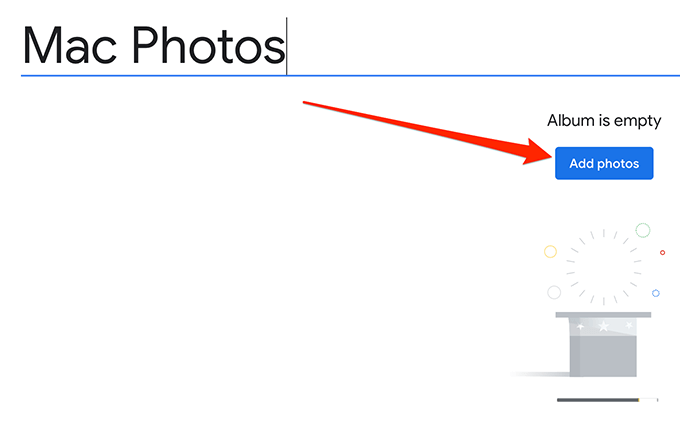
- This will take yous to the screen where you lot can add together existing Google Photos photos to your album. Since you want to upload photos locally from your Mac, click on Select from computer at the top-right corner of your screen.
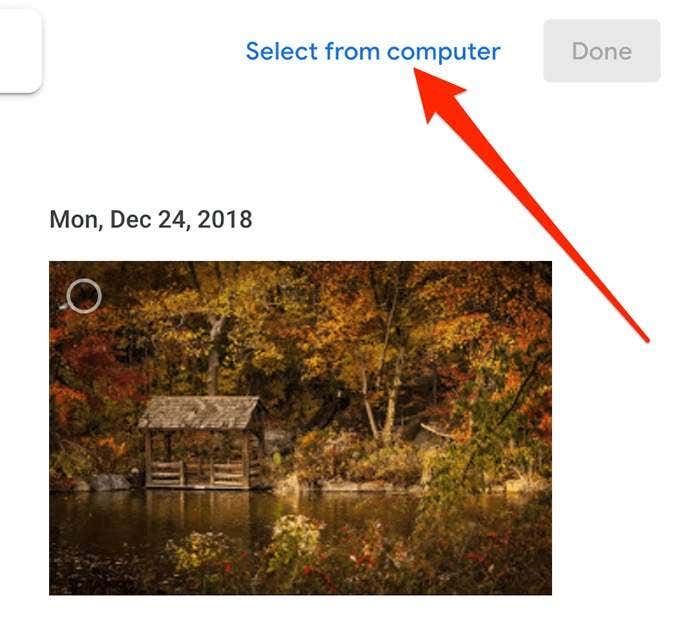
- Choose the photos that you want to upload from your Mac to Google Photos.
- If you want to add photos at a afterwards time, you tin come up back to the newly created album anytime and click on the Add photos option to upload new photos to your account.
Upload Chosen Photos From iPhoto To Google Photos
If you use the Backup and Sync app to upload your photos, you'll find that it only lets you upload full iPhoto libraries to your account. In that location's no selection to manually select photos from your library for uploading.
Luckily, there's a workaround to get this washed.
- Correct-click on your Mac'south desktop and select New Binder. Use iPhoto Photos as the proper name for your binder.

- Launch the iPhoto app using your preferred method on your Mac.

- Select the photos that yous'd similar to upload to Google Photos. Yous can select multiple photos from any albums you lot desire.
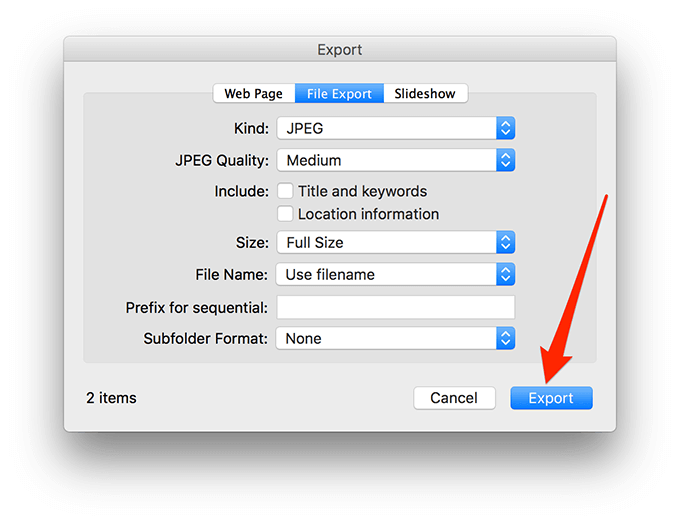
- When you've selected the photos to be uploaded, click on the File menu at the pinnacle and click on Export.

- If you want to adjust whatsoever quality-related settings, do then on the screen that follows. So click on Export to bring your photos out of iPhoto.
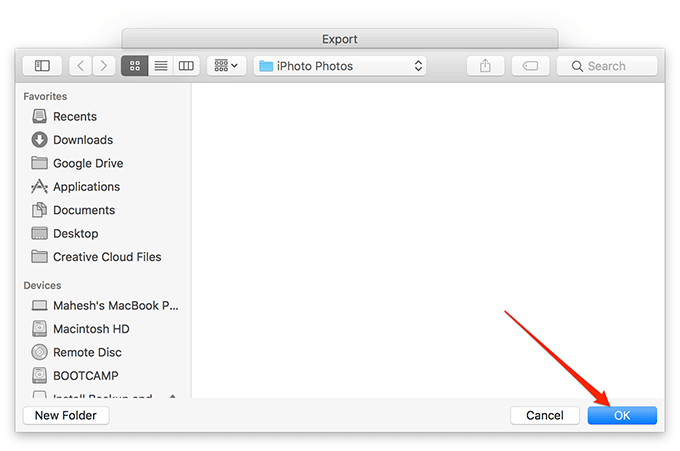
- Choose the iPhoto Photos folder on your desktop and click on OK.
- Quit the iPhoto app on your Mac by clicking on iPhoto followed by Quit iPhoto at the top.

- Launch the Backup and Sync app and log-in to your Google account.
- On the screen where information technology asks what content you want to upload, untick all the boxes and click on Choose Folder.
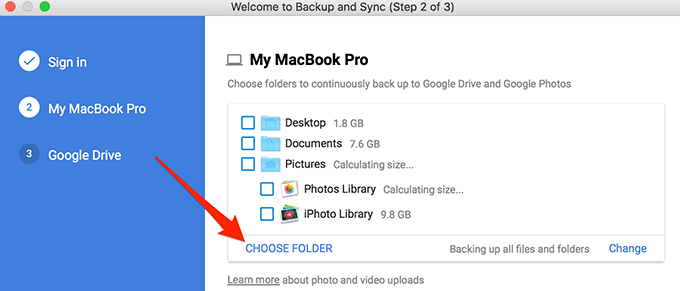
- Select the iPhoto Photos folder on your desktop.
- Hit Adjacent and your chosen iPhoto photos will be uploaded to your Google Photos account.
Upload Chosen Photos From The Photos App To Google Photos
If the Photos app happens to be your principal photograph management app, you tin selectively upload your photos from this app to Google Photos. You'll demand to apply a workaround to do this as the Backup and Sync app doesn't allow you to practice it past default.
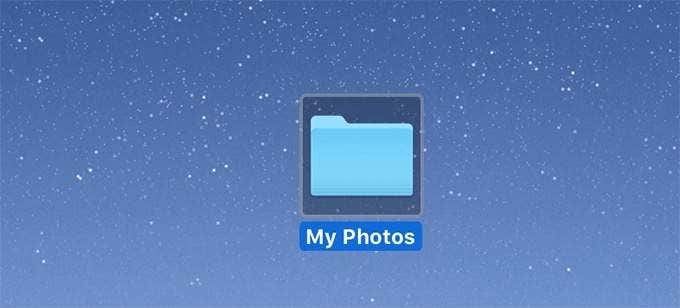
- Create a new binder on your desktop by correct-clicking and selecting New Binder. Apply My Photos as the name for your folder.
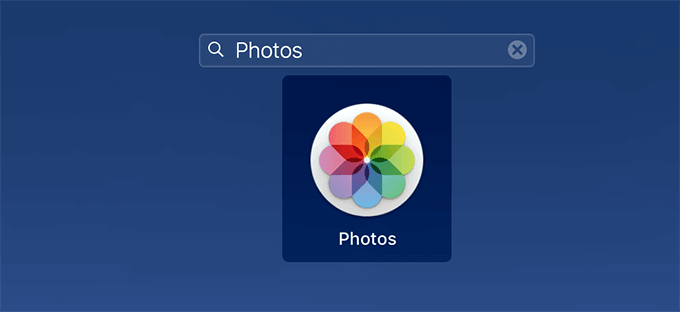
- Open the Photos app on your Mac.
- Select the photos that you lot desire to upload past clicking on them. You can cull as many photos as you want in your albums.
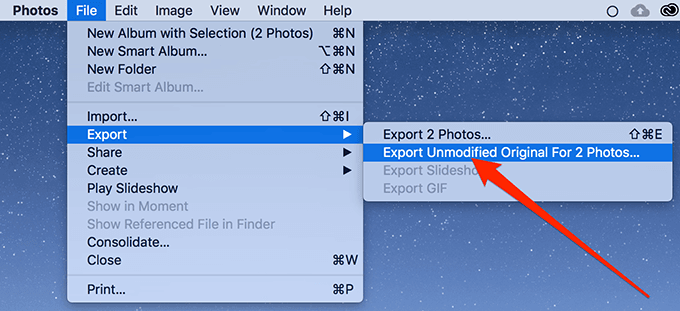
- Once you've fabricated a choice, click on the File carte at the top and cull Export followed by Consign Unmodified Original For Ten Photos where Ten is the number of photos yous've selected.
- Unless yous desire to change the naming for your photos, click on Export to relieve them with their default names to the folder on your desktop.
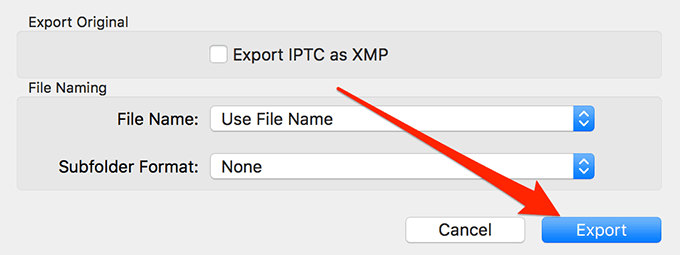
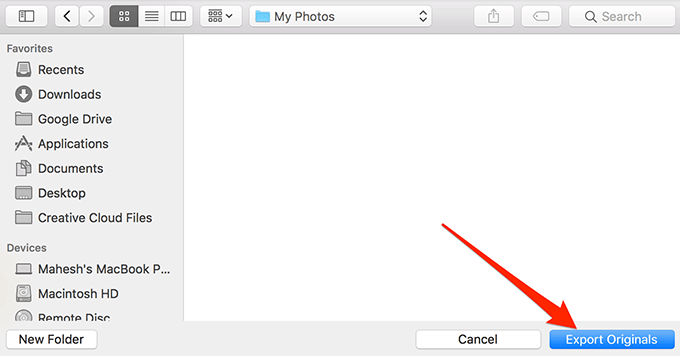
- Choose the My Photos folder located on your desktop and click on Export Originals.
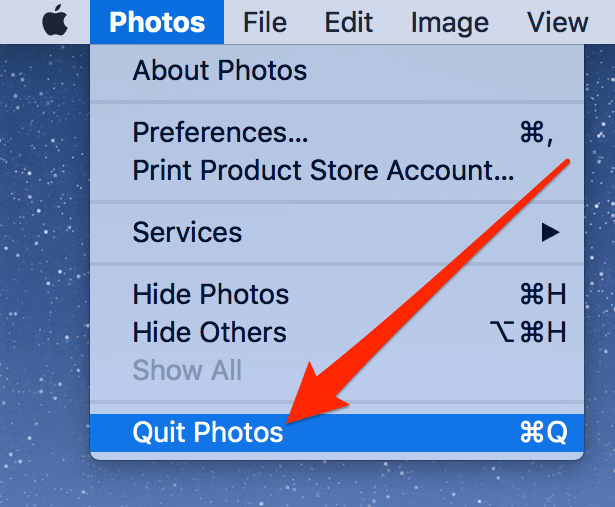
- Shut the Photos app on your Mac.
- Access the Backup and Sync app and log-in to your account.
- Click on the Choose Folder option and choose the My Photos folder on your desktop.

- Continue with the uploading process and your chosen photos will be uploaded to your account.
Do you go along your photos locally on your Mac? If and so, what is it that's holding you back from uploading them to services like Google Photos? Nosotros'd be curious to know in the comments below.
Do not share my Personal Information.
Source: https://www.switchingtomac.com/tutorials/osx/how-to-upload-pictures-from-mac-to-google-photos/
0 Response to "Where to Find Photos to Upload Mc"
Post a Comment